Access Policies
Access Policies define who can do what to which resources. In conjunction with Roles, Access Policies determine what users are allowed to do on DataHub.
Policy Types
There are 2 types of Access Policy within DataHub:
- Platform Policies
- Metadata Policies

Platform
Policies determine who has platform-level Privileges on DataHub. These include:
- Managing Users & Groups
- Viewing the DataHub Analytics Page
- Managing Policies themselves
Platform policies can be broken down into 2 parts:
- Privileges: Which privileges should be assigned to the Actors (e.g. "View Analytics")
- Actors: Who the should be granted the privileges (Users, or Groups)
A few Platform Policies in plain English include:
- The Data Platform team should be allowed to manage users & groups, view platform analytics, & manage policies themselves
- John from IT should be able to invite new users
Metadata
Metadata policies determine who can do what to which Metadata Entities. For example:
- Who can edit Dataset Documentation & Links?
- Who can add Owners to a Chart?
- Who can add Tags to a Dashboard?
Metadata policies can be broken down into 3 parts:
- Privileges: The 'what'. What actions are being permitted by a Policy, e.g. "Add Tags".
- Resources: The 'which'. Resources that the Policy applies to, e.g. "All Datasets".
- Actors: The 'who'. Specific users, groups, & roles that the Policy applies to.
A few Metadata Policies in plain English include:
- Dataset Owners should be allowed to edit documentation, but not Tags.
- Jenny, our Data Steward, should be allowed to edit Tags for any Dashboard, but no other metadata.
- James, a Data Analyst, should be allowed to edit the Links for a specific Data Pipeline he is a downstream consumer of.
Each of these can be implemented by constructing DataHub Access Policies.
Using Access Policies
- Manage Policies Privilege
This Platform Privilege allows users to create, edit, and remove all Access Policies on DataHub. Therefore, it should only be
given to those users who will be serving as Admins of the platform. The default Admin role has this Privilege.
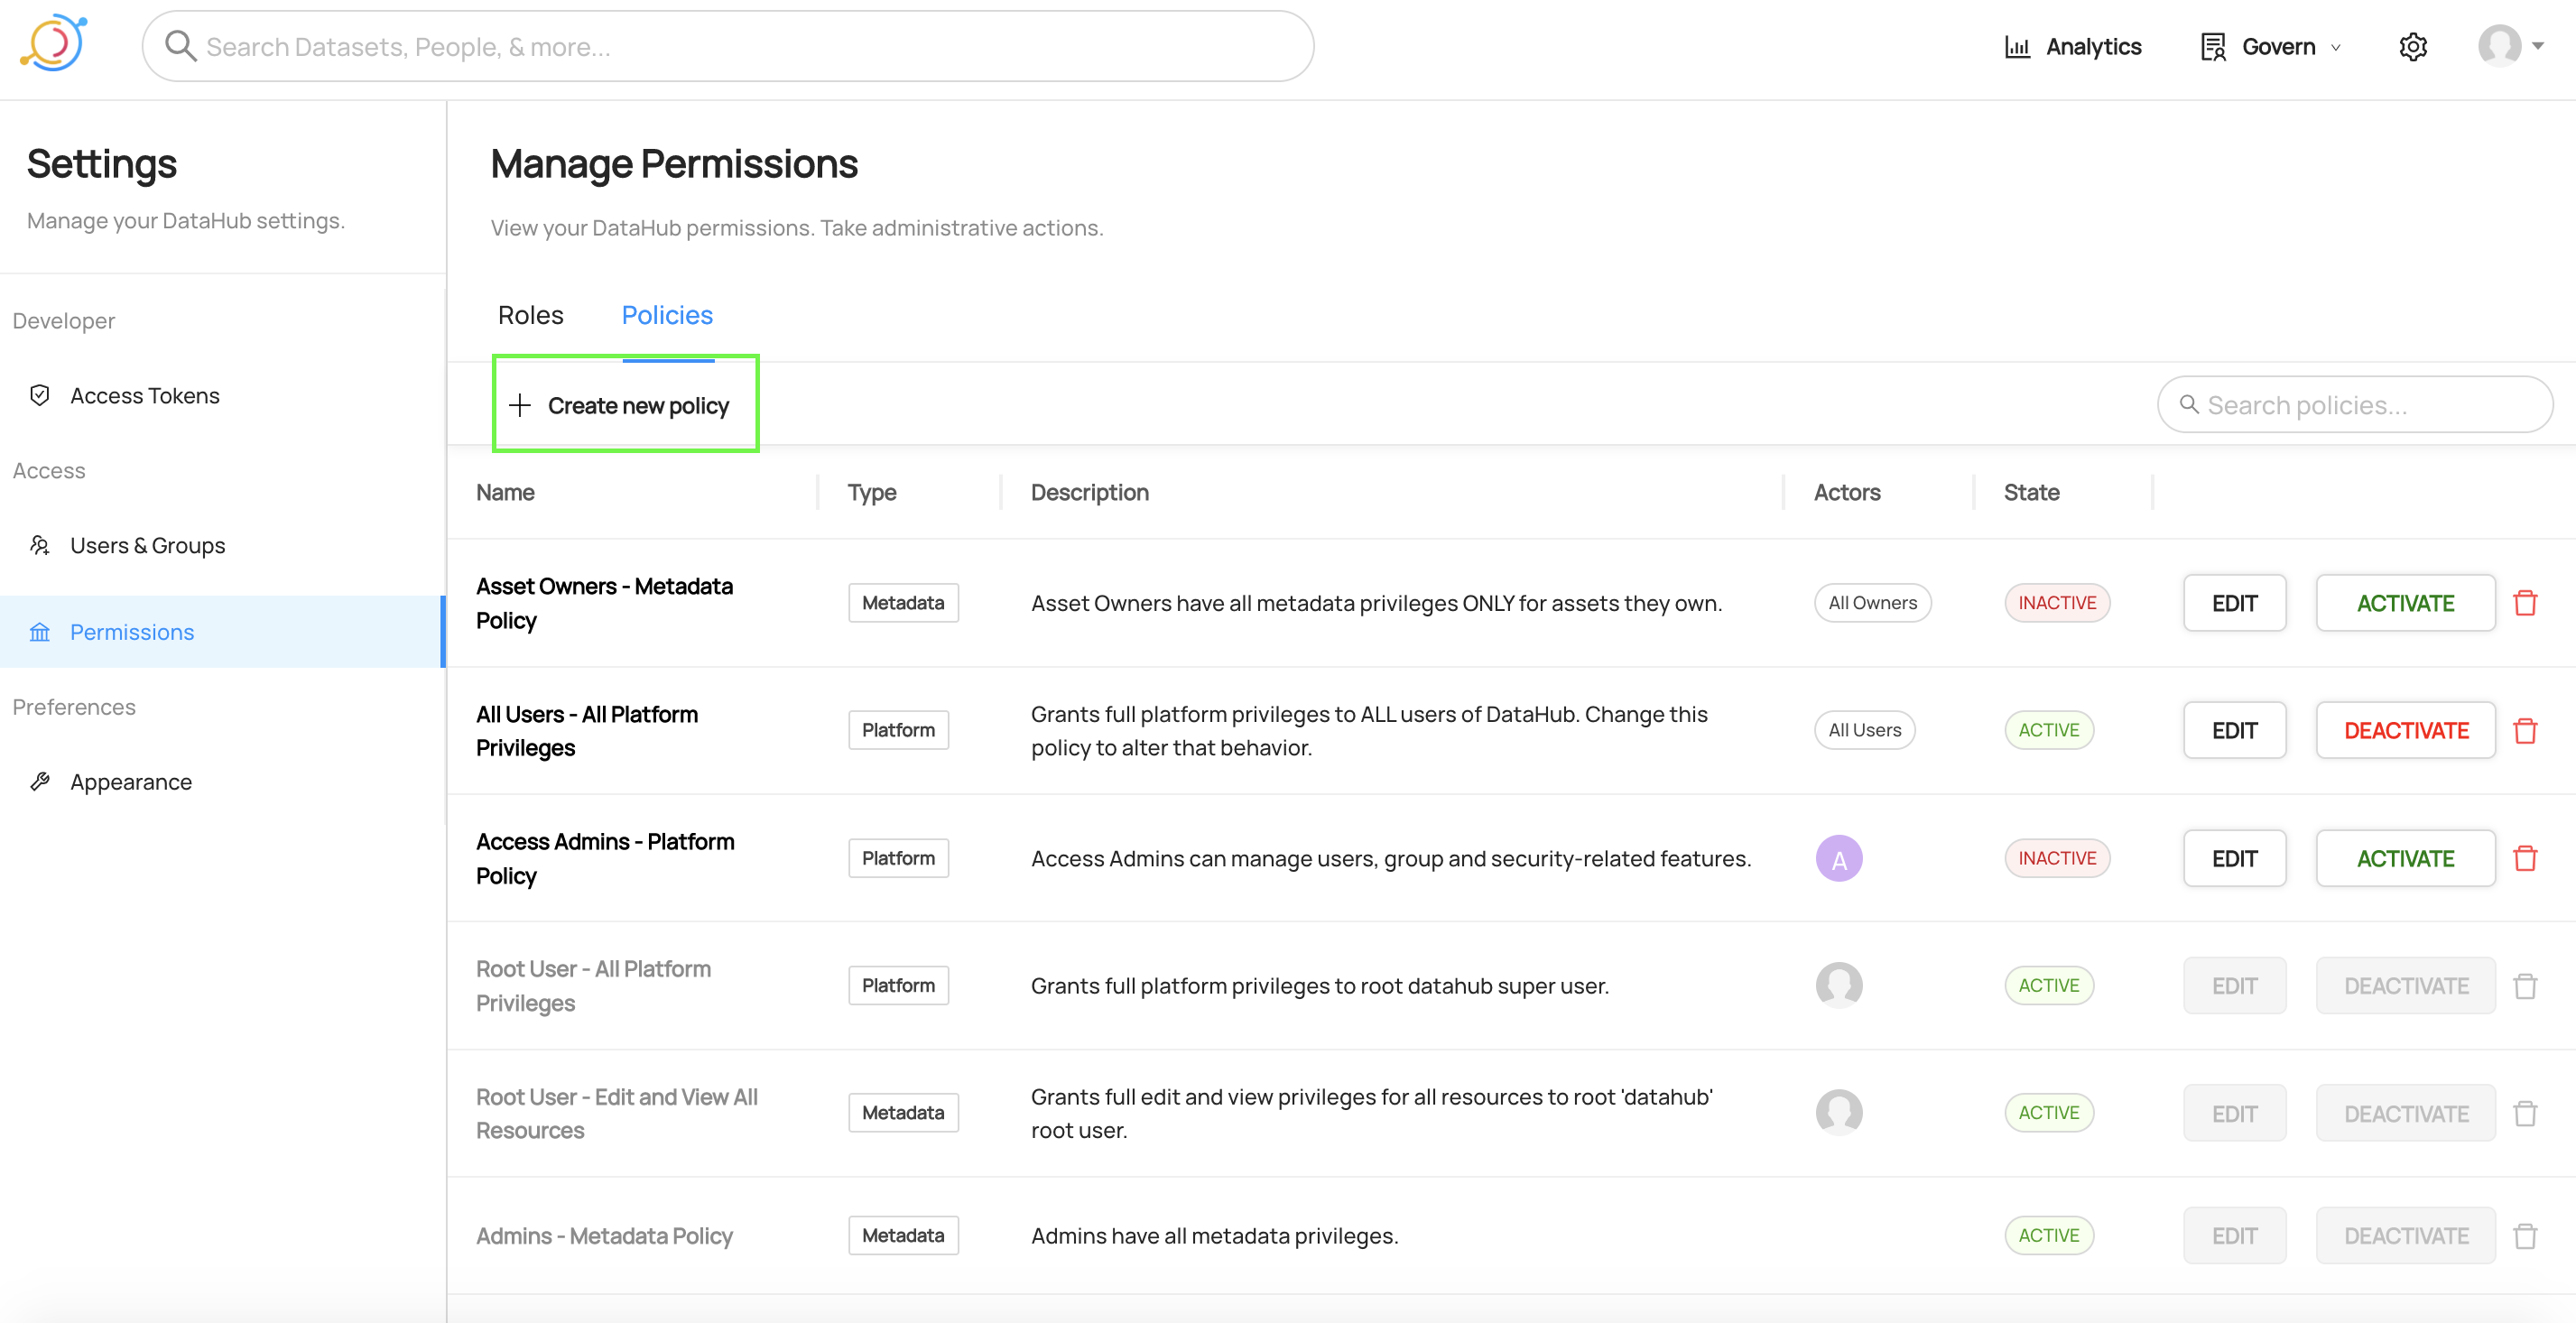
Policies can be created by first navigating to Settings > Permissions > Policies.
To begin building a new Policy, click Create new Policy.
Creating a Platform Policy
Step 1. Provide a Name & Description
In the first step, we select the Platform Policy type, and define a name and description for the new Policy.
Good Policy names describe the high-level purpose of the Policy. For example, a Policy named "View DataHub Analytics - Data Governance Team" would be a great way to describe a Platform Policy which grants abilities to view DataHub's Analytics view to anyone on the Data Governance team.
You can optionally provide a text description to add richer details about the purpose of the Policy.
Step 2: Configure Privileges
In the second step, we can simply select the Privileges that this Platform Policy will grant.
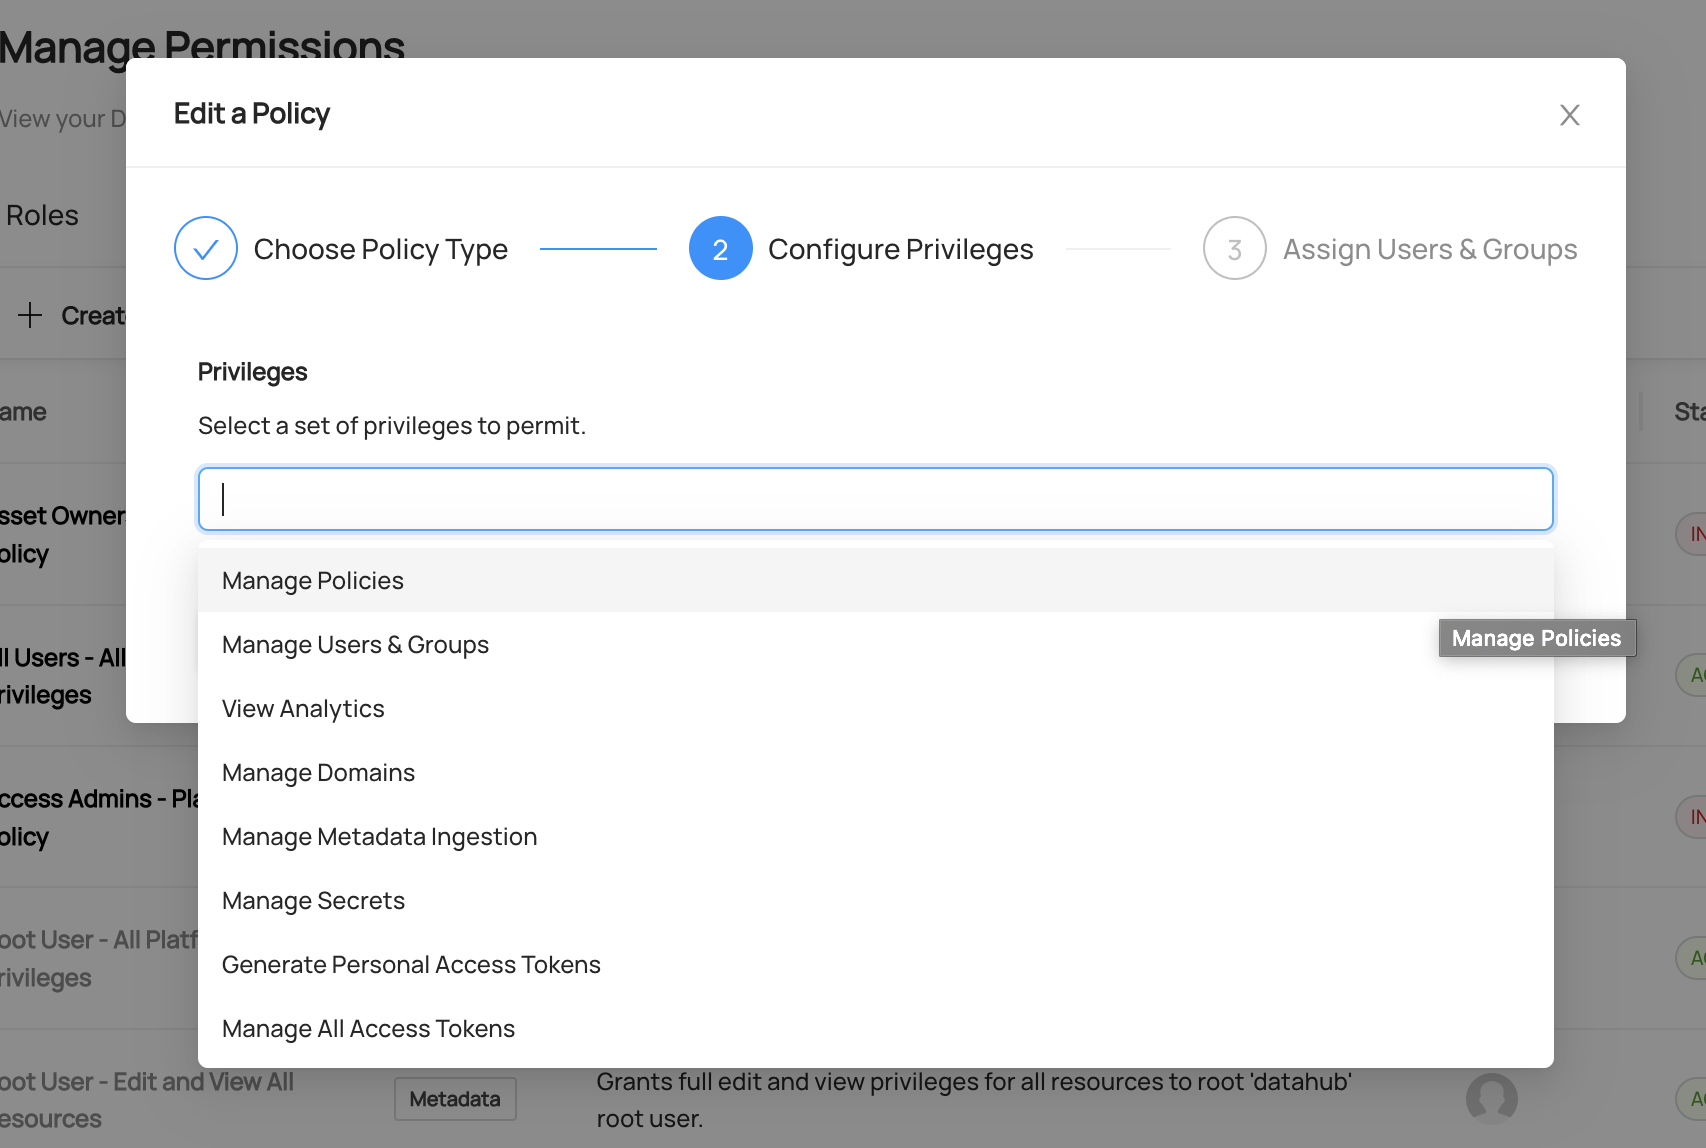
Platform Privileges most often provide access to perform administrative functions on the Platform. Refer to the Policies Guide for a complete list of these privileges.
Step 3: Choose Policy Actors
In this step, we can select the actors who should be granted Privileges appearing on this Policy.
To do so, simply search and select the Users or Groups that the Policy should apply to.
Assigning a Policy to a User

Assigning a Policy to a Group

Creating a Metadata Policy
Step 1. Provide a Name & Description
In the first step, we select the Metadata Policy, and define a name and description for the new Policy.
Good Policy names describe the high-level purpose of the Policy. For example, a Policy named "Full Dataset Edit Privileges - Data Platform Engineering" would be a great way to describe a Metadata Policy which grants all abilities to edit Dataset Metadata to anyone in the "Data Platform" group.
You can optionally provide a text description to add richer detail about the purpose of the Policy.
Step 2: Configure Privileges
In the second step, we can simply select the Privileges that this Metadata Policy will grant. To begin, we should first determine which assets that the Privileges should be granted for (i.e. the scope), then select the appropriate Privileges to grant.
Using the Resource Type selector, we can narrow down the type of the assets that the Policy applies to. If left blank,
all entity types will be in scope.
For example, if we only want to grant access for Datasets on DataHub, we can select
Datasets.

Next, we can search for specific Entities of the that the Policy should grant privileges on. If left blank, all entities of the selected types are in scope.
For example, if we only want to grant access for a specific sample dataset, we can search and select it directly.

We can also limit the scope of the Policy to assets that live in a specific Domain. If left blank, entities from all Domains will be in scope.
For example, if we only want to grant access for assets part of a "Marketing" Domain, we can search and select it.

Finally, we will choose the Privileges to grant when the selected entities fall into the defined scope.
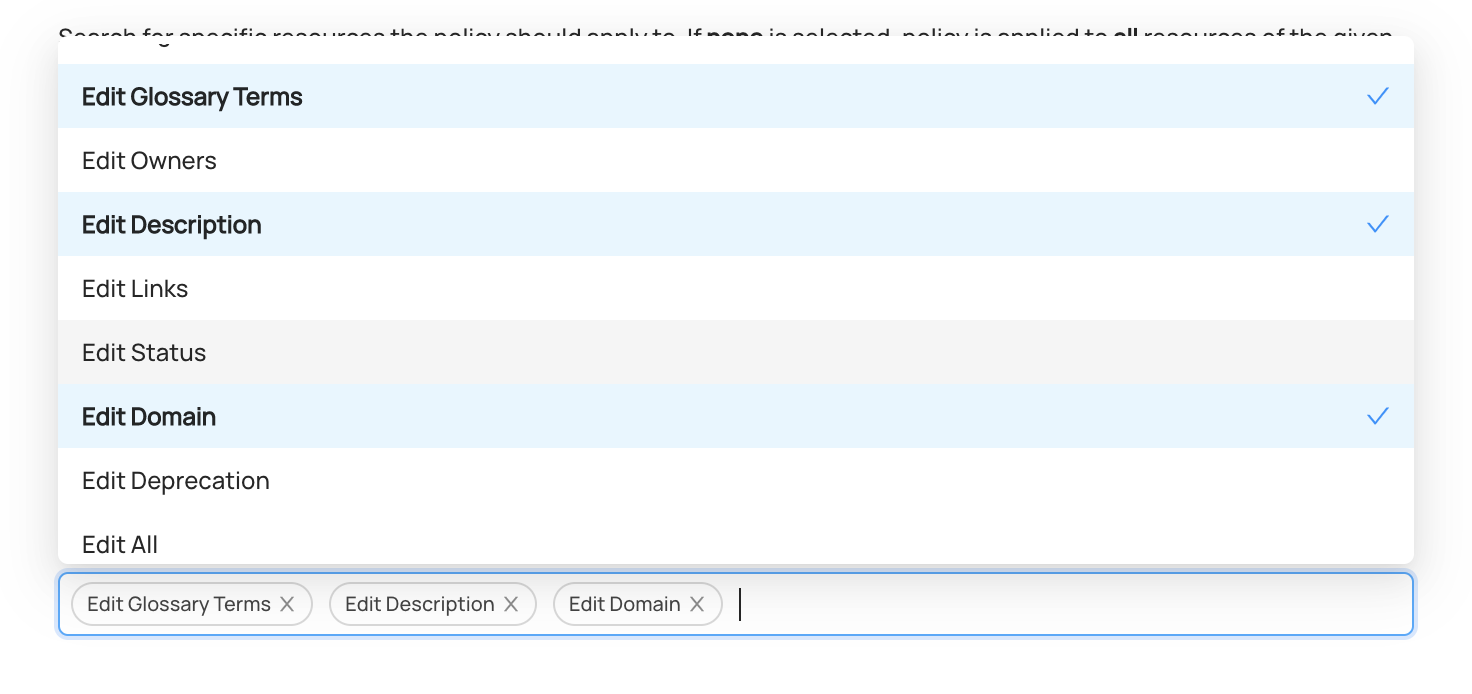
Metadata Privileges grant access to change specific entities (i.e. data assets) on DataHub. These include common metadata privileges that span across entity types, as well as specific entity-level privileges.
Step 3: Choose Policy Actors
In this step, we can select the actors who should be granted the Privileges on this Policy. Metadata Policies can target specific Users & Groups, or the owners of the Entities that are included in the scope of the Policy.
To do so, simply search and select the Users or Groups that the Policy should apply to.


We can also grant the Privileges to the owners of Entities (or Resources) that are in scope for the Policy. This advanced functionality allows of Admins of DataHub to closely control which actions can or cannot be performed by owners.

Updating an Existing Policy
To update an existing Policy, simply click the Edit on the Policy you wish to change.
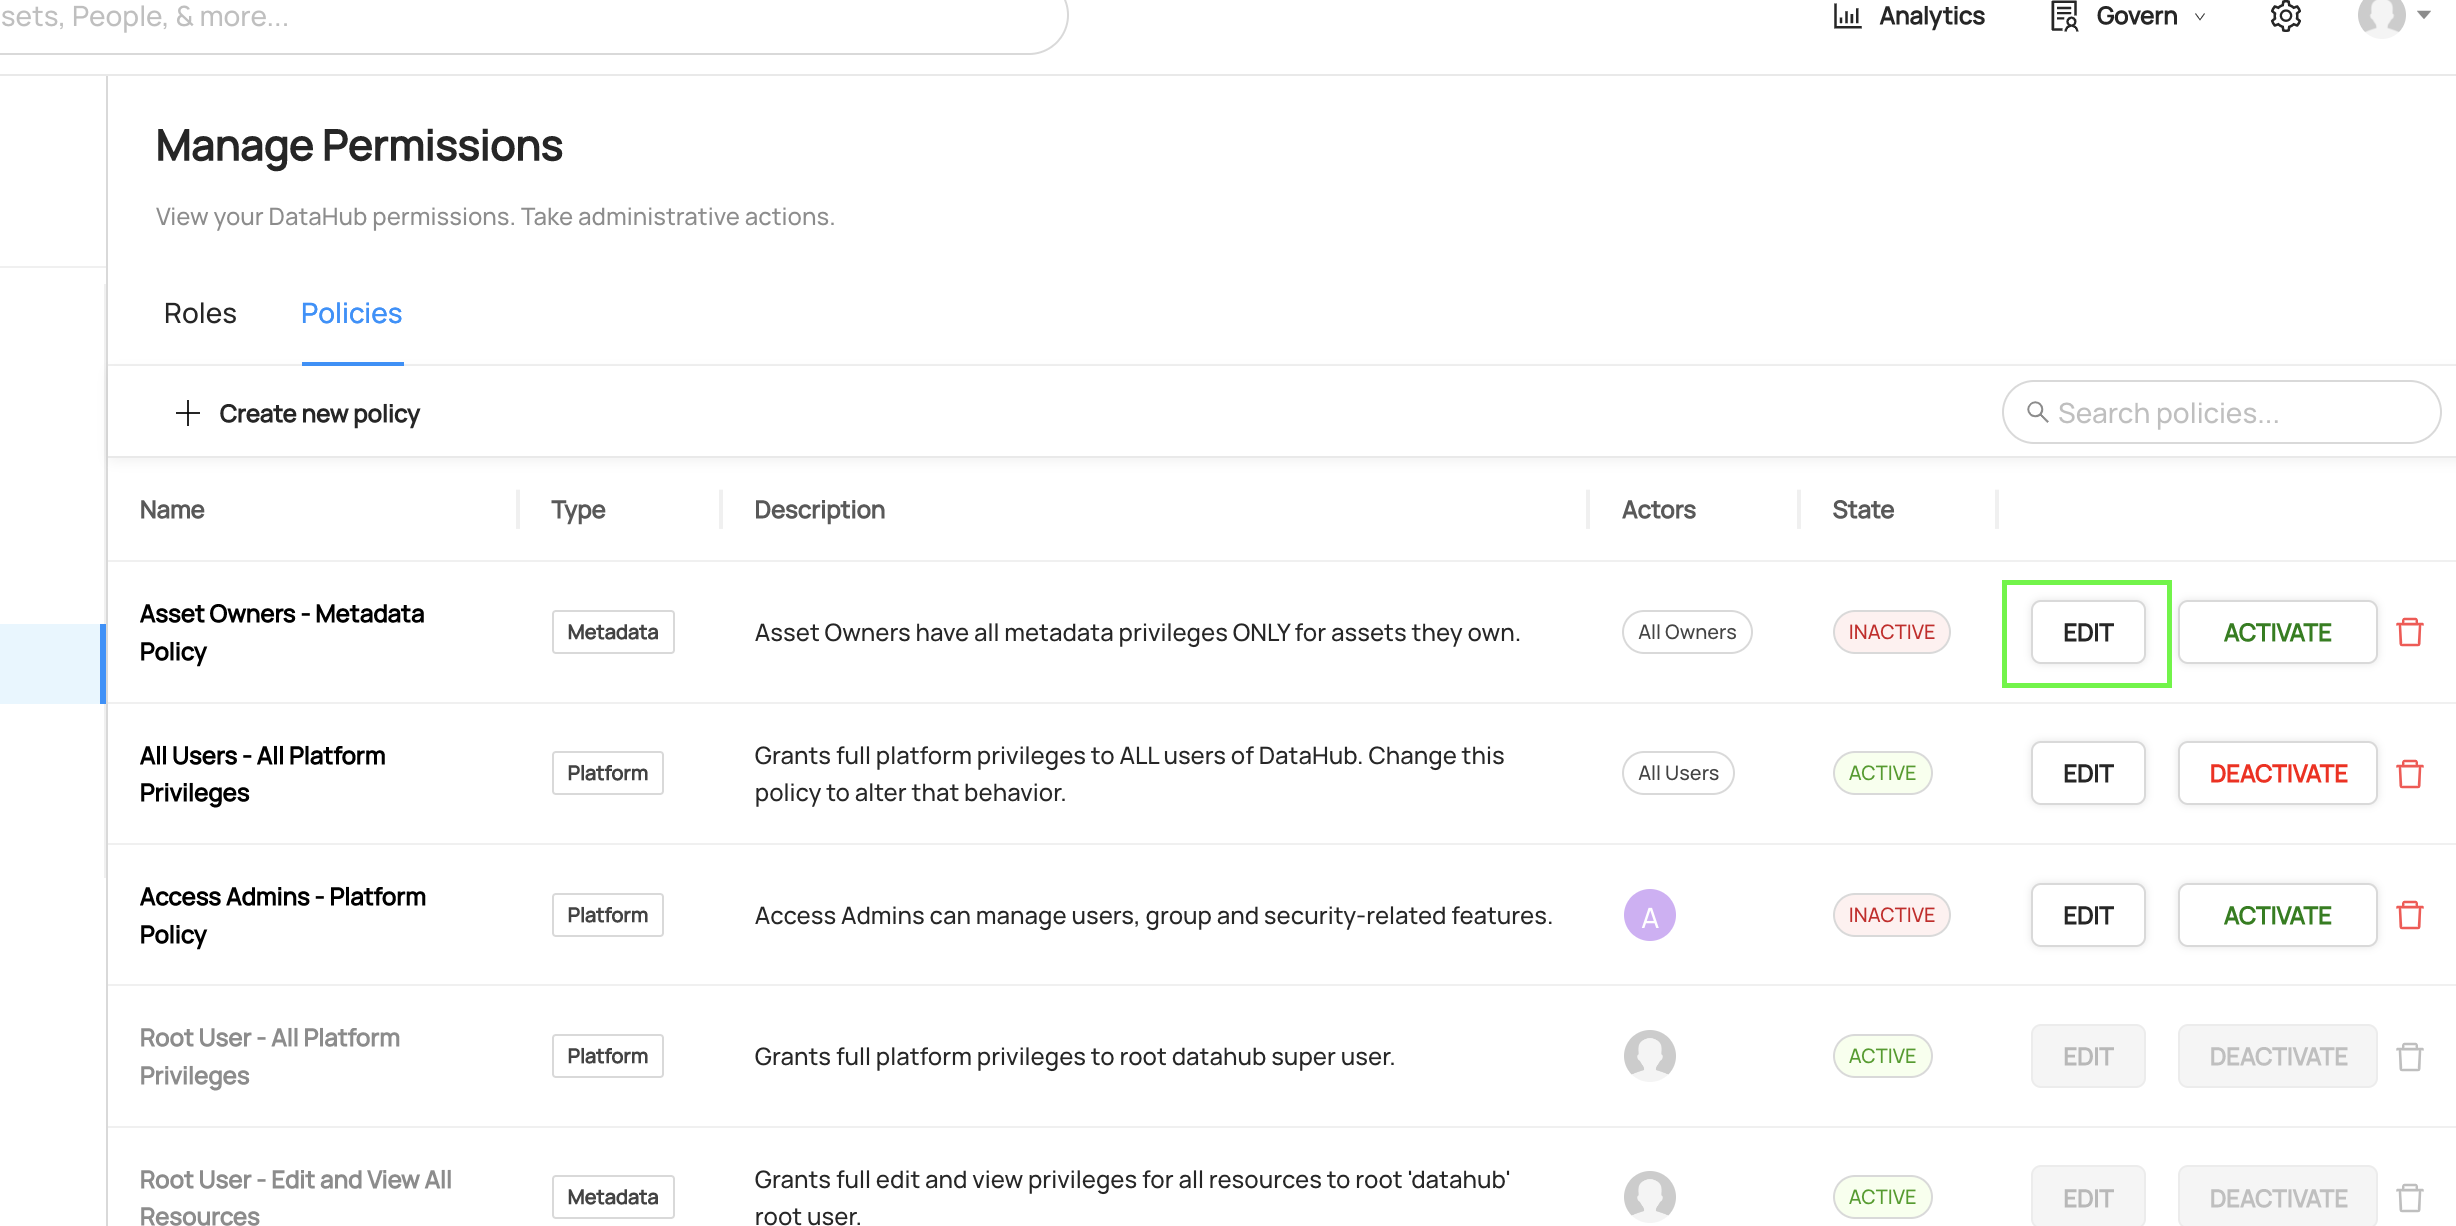
Then, make the changes required and click Save. When you save a Policy, it may take up to 2 minutes for changes to be reflected.
Removing a Policy
To remove a Policy, simply click on the trashcan icon located on the Policies list. This will remove the Policy and deactivate it so that it no longer applies.
When you delete a Policy, it may take up to 2 minutes for changes to be reflected.
Deactivating a Policy
In addition to deletion, DataHub also supports "deactivating" a Policy. This is useful if you need to temporarily disable a particular Policy, but do not want to remove it altogether.
To deactivate a Policy, simply click the Deactivate button on the Policy you wish to deactivate. When you change the state of a Policy, it may take up to 2 minutes for the changes to be reflected.
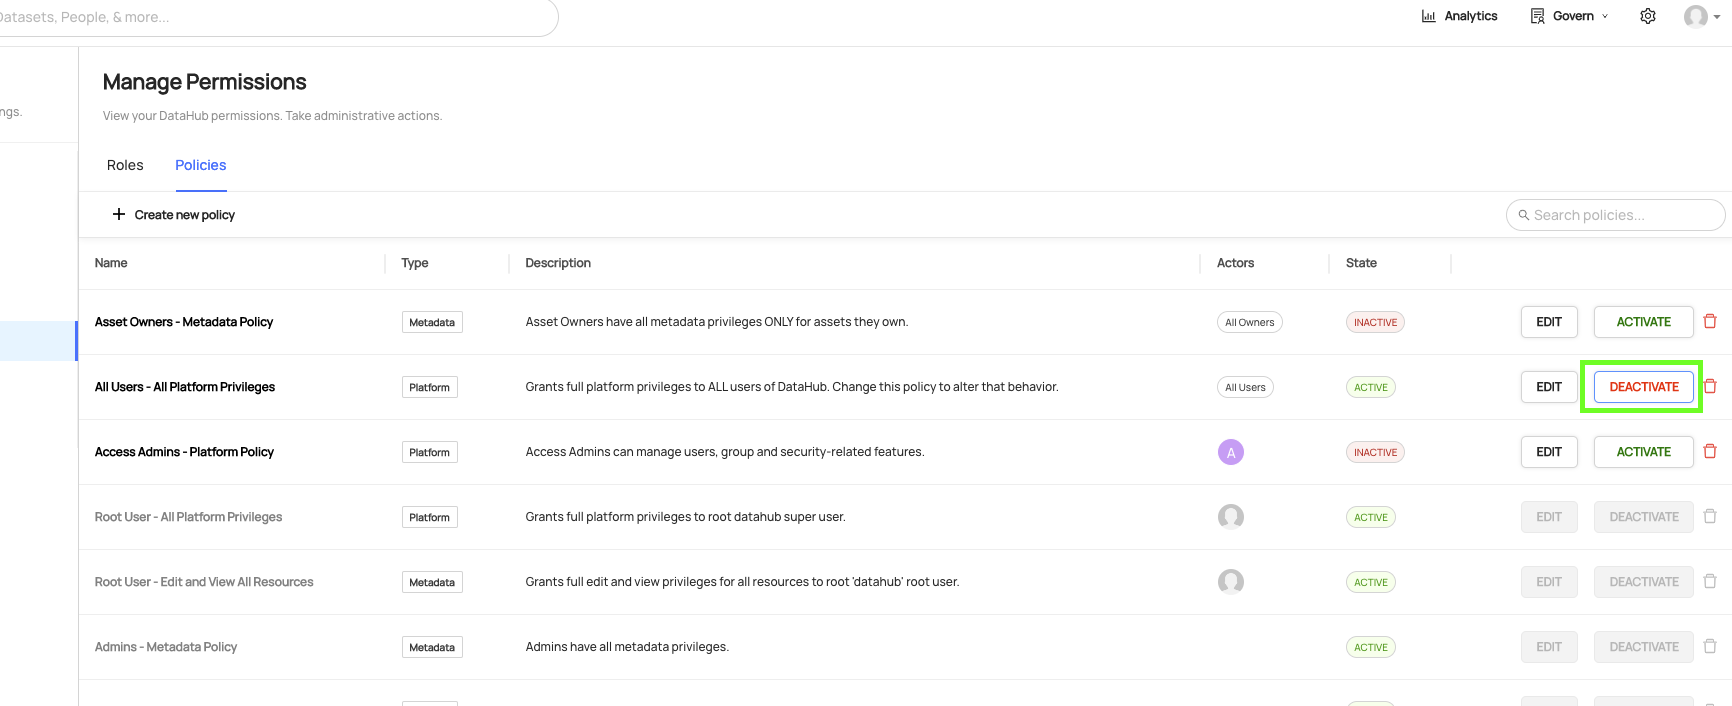
After deactivating, you can re-enable a Policy by clicking Activate.
Default Policies
Out of the box, DataHub is deployed with a set of pre-baked Policies. This set of policies serves the following purposes:
- Assigns immutable super-user privileges for the root
datahubuser account (Immutable) - Assigns all Platform Privileges for all Users by default (Editable)
The reason for #1 is to prevent people from accidentally deleting all policies and getting locked out (datahub super user account can be a backup)
The reason for #2 is to permit administrators to log in via OIDC or another means outside of the datahub root account
when they are bootstrapping with DataHub. This way, those setting up DataHub can start managing Access Policies without friction.
Note that these Privileges can and likely should be changed inside the Policies page before onboarding
your company's users.
REST API Authorization
Policies only affect REST APIs when the environment variable REST_API_AUTHORIZATION is set to true for GMS. Some policies only apply when this setting is enabled, marked above, and other Metadata and Platform policies apply to the APIs where relevant, also specified in the table above.
Additional Resources
Videos
GraphQL
FAQ and Troubleshooting
How do Policies relate to Roles?
Policies are the lowest level primitive for granting Privileges to users on DataHub.
Roles are built for convenience on top of Policies. Roles grant Privileges to actors indirectly, driven by Policies behind the scenes. Both can be used in conjunction to grant Privileges to end users. For more information on roles please refer to Authorization > Roles.